

Substantial Levelling Agent: Why It Matters for Your Next Flooring Project
2026-10-01
Every flooring project starts with a vision, but the real test comes when you look down and see the surface you actually have to work with. Uneven slabs, dips, and high spots can turn a straightforward installation into a frustrating headache. That’s where a substantial levelling agent changes the game. Unlike thin, watery compounds that struggle to hold their shape, a substantial formula gives you the body and reliability needed to correct serious deviations before you lay the final floor. If you’ve ever wondered why some floors look flawless years later while others develop cracks or hollow spots, the answer often lies in the prep work. HAISEN has focused on this exact pain point, engineering levelling solutions that work with you, not against you. In this guide, we’ll break down what makes a levelling agent truly substantial, why it matters for the longevity of your floor, and how the right choice can save you time, money, and callbacks down the road.
What a Substantial Levelling Agent Actually Does Underfoot
A substantial levelling agent doesn't just fill the obvious craters. Once mixed and poured, it moves into the low spots you can't see from a standing height—the shallow depressions left by trowel marks, the gradual slope near a doorway, the hollow around a drain. Underfoot, that translates to a floor that no longer tells you where the subfloor changes. You stop feeling those faint ridges through thin vinyl or the slight bounce that used to live near the old patch.
Its real work happens at the interface between liquid and substrate. It keys into the surface, then hardens into a dense, cohesive layer. That means the weight of your step is distributed over a wider area instead of concentrating on a high point. Flooring laid over it flexes less, so tile grout doesn't crack as early and click-lock planks don't peel at the seams. You feel the difference when you walk with socks on—the floor reads as one continuous plane, not a sequence of micro-steps.
There's also a quieter effect. A good levelling agent absorbs and evens out the small vibrations that would otherwise telegraph upward. Drop a coin or roll a desk chair and the sound stays dull and close, rather than ringing through a hollow spot. It doesn't make a subfloor perfect; it makes the imperfections irrelevant to the floor covering above. Underfoot, that's the whole point.
When Uneven Subfloors Start Undermining New Flooring
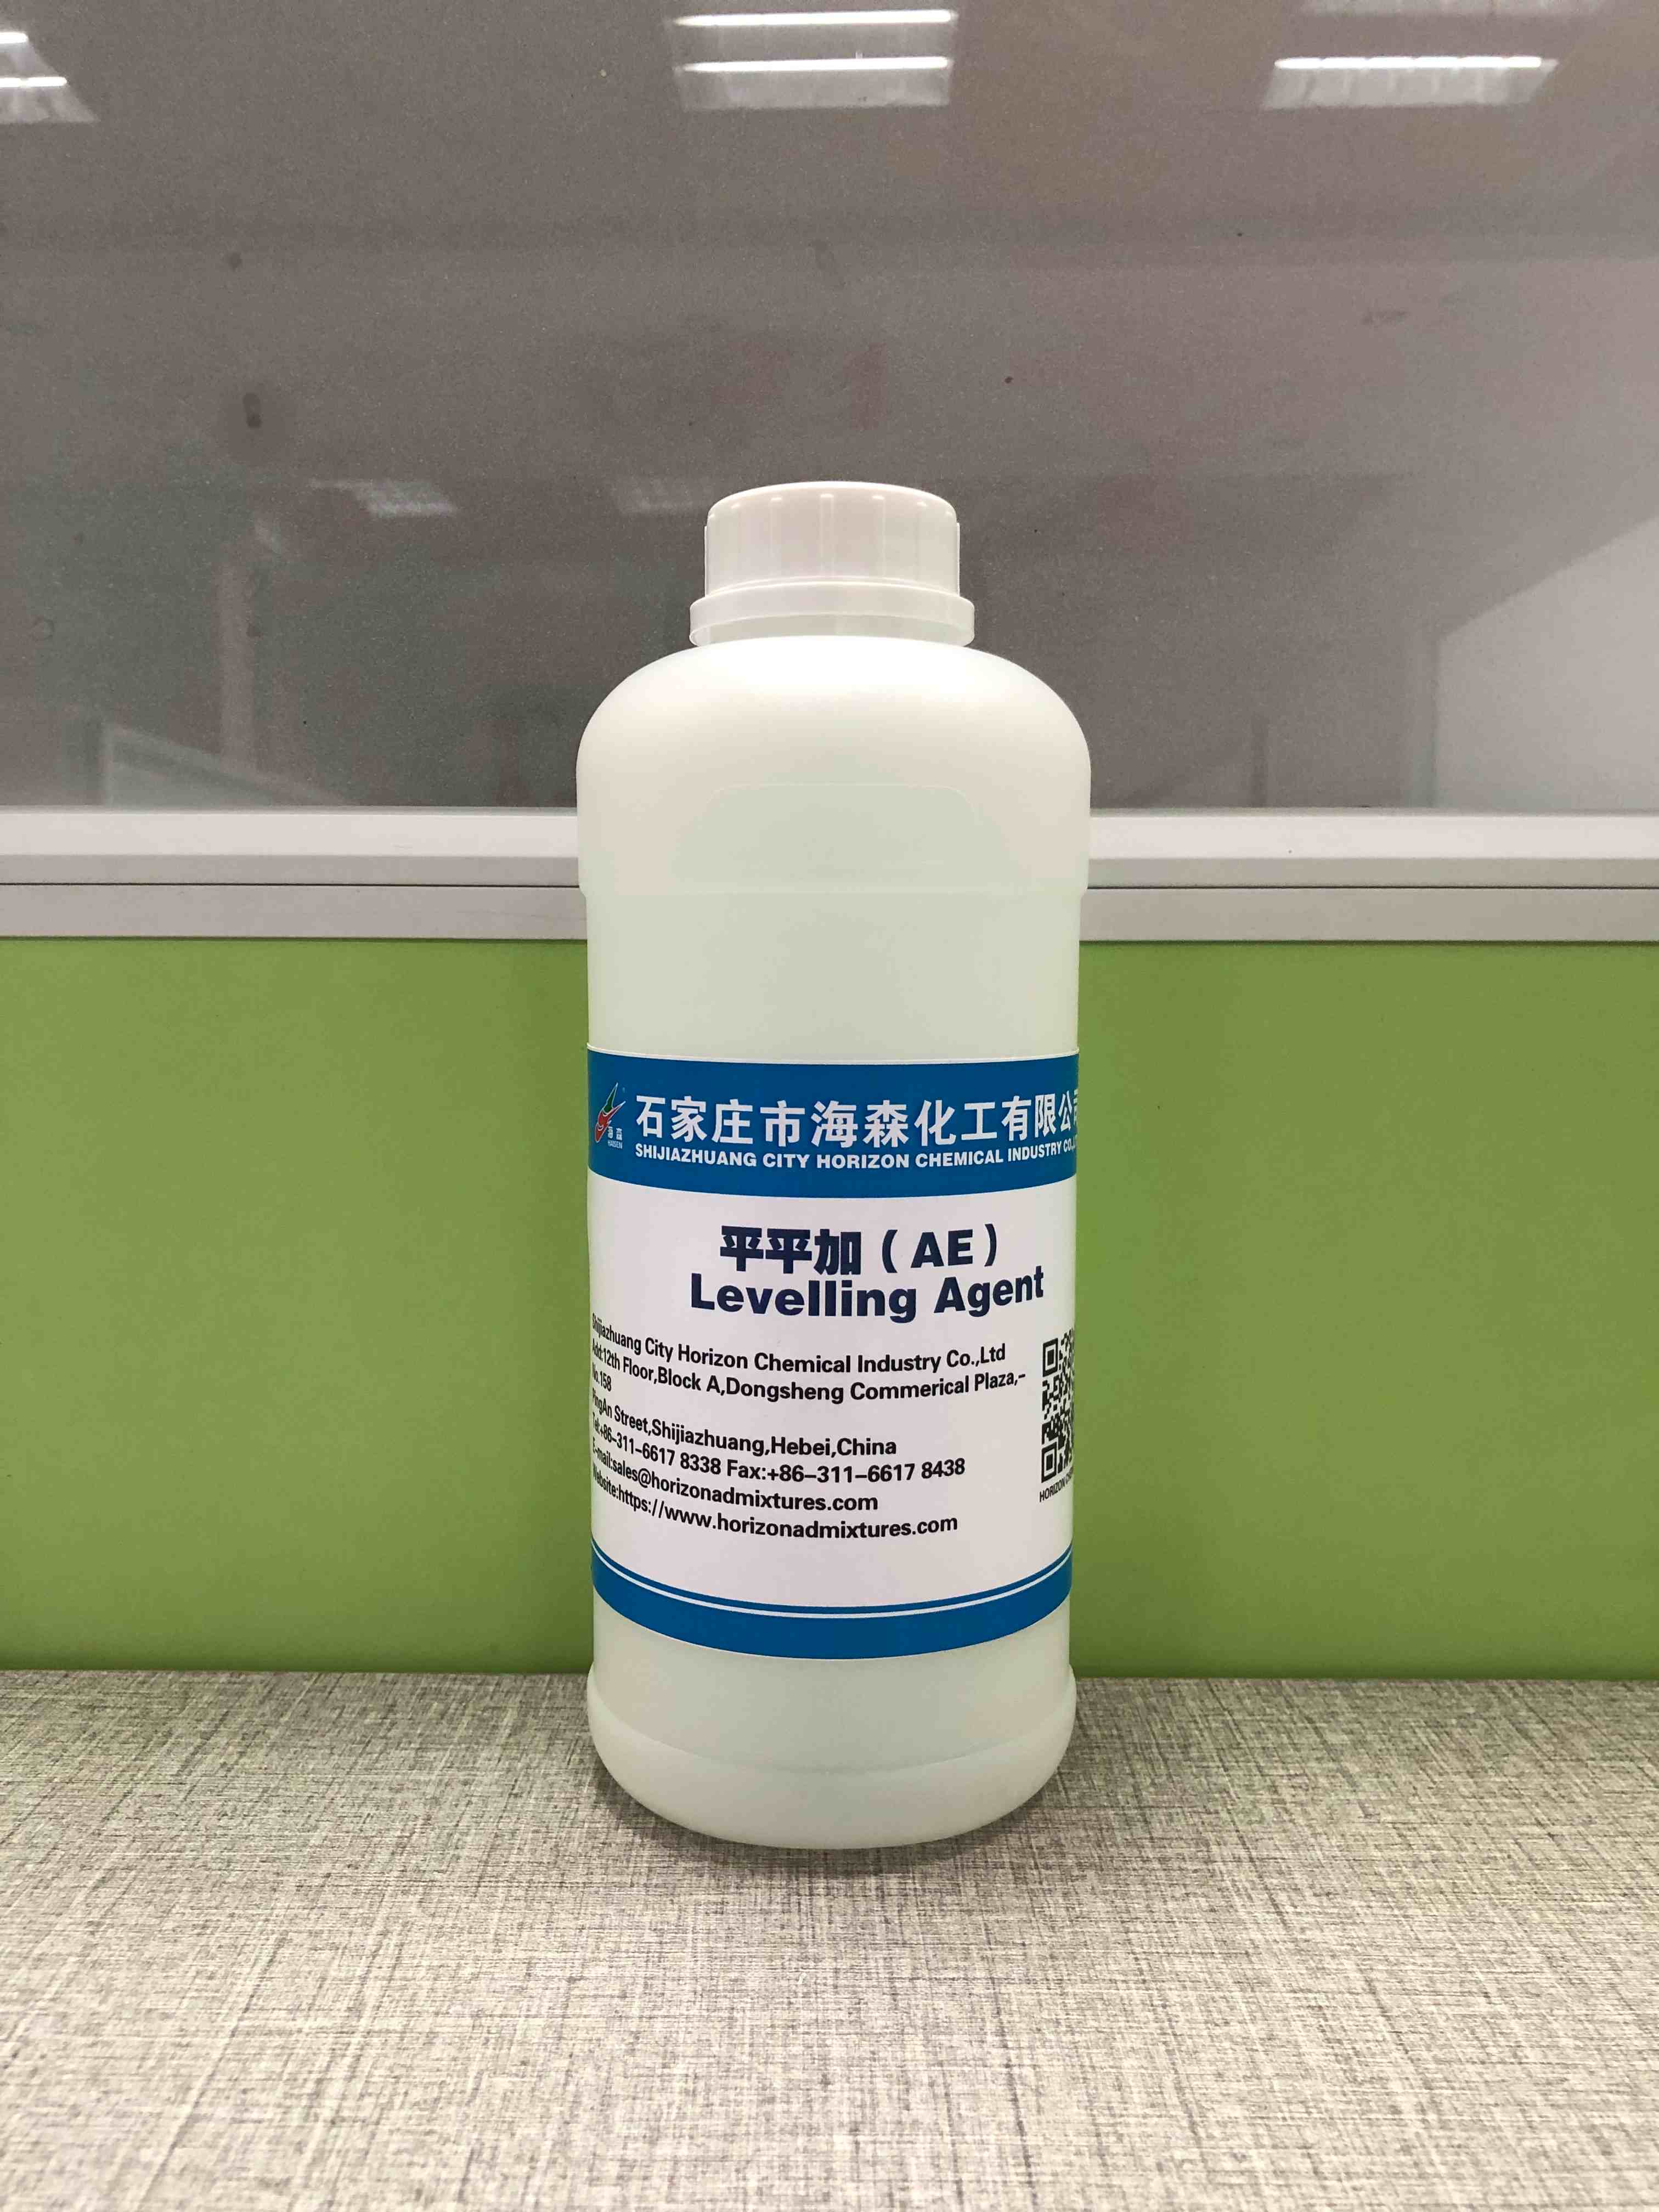
Most flooring failures don't start with the material itself—they start with what's underneath. When a subfloor dips, crowns, or rolls across a room, even the most expensive plank or tile gets forced into stress positions it was never designed to handle. You'll notice it first as a faint bounce underfoot, a hollow tap when you walk across a seam, or gaps that open and close with the seasons. By the time those symptoms show up, the new floor is already fighting a losing battle against geometry.
The real damage tends to show up in predictable spots: doorways, transitions between rooms, and anywhere a joist was sistered poorly or a patch was feathered too thin. Flexible flooring like vinyl can hide a wave for a while, but rigid materials such as engineered hardwood, laminate, or tile will telegraph every low spot as a cracked edge, a lifted corner, or a grout line that crumbles within months. What looks like a product defect is usually the subfloor quietly pushing back against the installation.
Fixing the problem after the fact is rarely as simple as tightening a few screws. In many cases, the new flooring has to come up, the subfloor needs to be ground down, built up, or replaced, and then everything gets reinstalled. That's why a long straightedge and a careful inspection before the first plank goes down will always cost less than chasing squeaks and separations later. If the subfloor isn't flat within the manufacturer's tolerance, the finish floor is just a temporary cover story.
The Pouring Techniques That Separate Smooth from Adequate
The real difference between smooth and adequate cocktails starts before the liquid even leaves the bottle. Most people tilt the bottle and let gravity do the work, but that creates an unpredictable stream that splashes and breaks apart in the glass. Instead, hold the bottle at a slight angle with the neck close to the rim, and rotate your wrist as you pour. This keeps the liquid sliding along the side of the glass rather than free-falling, which prevents aeration and preserves the texture you spent time building.
Another technique that often gets overlooked is the pause. Beginners rush through the pour, letting the bottle tip too far too quickly. But a controlled pour has a rhythm: start slow, let the stream establish itself, then increase the angle just enough to maintain a steady flow without gurgling. If you hear air bubbles pulsing back into the bottle, you are tilting too aggressively. That chugging sound means the liquid is leaving in bursts, not a smooth ribbon, and those bursts create uneven mixing and a rough mouthfeel.
Finally, pay attention to where the stream enters the glass. Pouring straight down into the center agitates the surface and can knock out carbonation or break delicate foam. Aim for the side of the glass, letting the liquid swirl naturally as it reaches the bottom. For layered drinks, keep the back of a spoon just above the surface so the stream hits the spoon first and spreads gently. These small adjustments in angle, speed, and contact point are what separate a silky, integrated pour from one that just gets the job done.
Material Choices and Mixing Ratios Worth Knowing
Getting the ratio wrong can turn a promising mix into a brittle slab or a sticky mess, so start by checking whether your material supplier lists proportions by weight or volume. A 2:1 epoxy resin might pour perfectly when measured by volume, yet the same numbers by weight could leave you with uncured patches because the hardener is denser than the base. For anything load-bearing or exposed to water, trust the technical data sheet over a generic online formula.
Among the everyday mixes, a general-purpose concrete often works around 1 part cement, 2 parts sand, and 3 parts gravel by volume, while a stronger mix for fence posts or footings shifts closer to 1:1.5:3. Mortar for brick or block typically sits between 1:3 and 1:4 cement to sand, depending on whether you need more bonding strength or more workability. Plaster and joint compounds are less forgiving, so a 1:2 ratio of plaster to water by weight is a safer baseline than the scoop-and-pour method.
Before committing to a full batch, mix a small test amount and let it cure or set in the same conditions as the real project; temperature and humidity can easily push a “perfect” ratio past its workable window. Write down what you actually measured rather than what the recipe said, and adjust in tiny increments, especially with pigments or accelerators. Over time you’ll notice that the best ratio is the one that lets you finish the job without rushing, not the one that simply hardened fastest.
Common Levelling Mistakes That Show Up Months Later
One of the sneakiest levelling mistakes is skimping on the prep work. If the subfloor still carries old adhesive patches, paint splatters, or even a fine layer of construction dust, the new compound can't bite into the surface properly. It looks fine for a few weeks, then hairline cracks start creeping outward from doorways and high-traffic spots. By the time you notice the hollow sound under a plank, the bond has already failed and you're facing a patch job that should have been a ten-minute scrape-and-vacuum.
Mixing errors are another delayed-reaction problem. Eyeballing the water ratio or re-mixing a batch that's started to set might save a few minutes on the day, but it creates weak spots that don't show until the seasons change. As temperatures shift, those areas shrink or expand at a slightly different rate than the rest of the floor. The result is a subtle dip or ridge right in the middle of a hallway—exactly where the fridge or a heavy bookcase will sit and make the unevenness more obvious.
Finally, rushing the cure is a classic trap. Walking on the leveller too early or installing flooring before the residual moisture has dropped can trap dampness underneath. Months later, that trapped moisture pushes up in the form of discoloured patches, musty smells, or edges that lift at the skirting boards. A cheap moisture meter and an extra day of drying time would have prevented the whole thing, but by the time the symptoms appear, the finished floor has to come up in sections to dry out properly.
Preparing Your Subfloor Before the First Pour
Most flooring failures trace back to what you didn’t spot before opening the first bucket. Walk the entire slab with a bright flashlight held flat against the surface—this rakes shadows across ridges, dips, and leftover adhesive you’d otherwise miss. Circle problem areas with chalk, and don’t trust your eyes alone; a cheap straightedge or a length of angle iron will reveal low spots that feel fine underfoot.
Moisture is the quieter killer. Tape a few squares of clear plastic sheeting to bare concrete in different corners for 24 hours and check for condensation or darkening beneath the film. If you see it, stop and test properly before pouring—sealing in that moisture means the first pour becomes a very expensive mistake. Also grind or sand any slick troweled areas just enough to give the new layer a mechanical bite, and vacuum twice: once right after grinding, and again after wiping the slab with a barely damp microfiber mop, because dust is what breaks the bond.
FAQ
It can be poured or trowelled to depths of 20 mm, 30 mm, or more in a single application without sagging or cracking. Regular patches are meant for skim coats up to about 3–5 mm, so when you have a subfloor with deep depressions, old adhesive ridges, or a bad concrete pour, a substantial levelling agent works as both filler and leveler. The higher polymer content also gives it more flex, so it doesn’t turn brittle under changing temperatures.
Check the substrate with a long straightedge or laser level. If you find dips deeper than 12 mm, areas where a spirit level rocks, or a floor that slopes more than 1 cm over 2 metres, a standard self-leveller won’t correct it. A substantial levelling agent becomes worth the extra cost when you would otherwise need to grind down high spots, pour multiple thin layers, or rebuild part of the subfloor.
It depends on the bond strength of what’s underneath. Loose tiles should be removed, and any glossy surface needs mechanical abrasion. Cutback adhesive is risky because it can soften and fail under a thick cementitious layer. If the adhesive is hard and well-adhered, a primer designed for difficult substrates may work, but for deep pours over questionable surfaces, it’s safer to install a separation membrane or remove the residue first.
Follow the water ratio on the bag exactly, and use a low-speed drill with a mixing paddle, not a paint mixer. Add the powder to the water gradually while mixing, then scrape the sides and bottom of the bucket, and mix for at least two to three minutes. Let it rest for about a minute, then remix briefly. Cold water and a dirty bucket can cause pinholing and weak spots, so start with clean tools.
Yes, and this step is not optional for thick pours. The primer seals the substrate, stops it from stealing water from the compound too quickly, and improves adhesion. On porous concrete or plywood, two coats are often needed, with the second applied after the first becomes tacky. Skipping primer can cause the levelling agent to debond, crack, or dry so fast that it loses strength.
It depends on the thickness, room temperature, and ventilation, but most high-build levelling compounds need at least 24 hours before foot traffic and 48–72 hours before covering. Thicker sections can hold moisture longer, so use a moisture meter if you’re installing wood or moisture-sensitive vinyl. Rushing the job is the number one cause of trapped moisture and adhesive failure.
Yes, provided the manufacturer rates it for use over heating pipes or electric mats. The pour must be fully cured before you gradually increase the heating temperature, usually over several days. Start with a 5°C rise per day and never expose fresh leveller to full heat, because thermal shock can crack even a reinforced layer.
The biggest ones are adding too much water to make it flow easier, pouring too large an area without a screed or gauge rake, and ignoring the substrate’s temperature. Also, many people forget to close off doorways and vents, so the compound dries unevenly. Using a spiked roller while it’s still wet helps release air, but only if you do it within the first few minutes.
Conclusion
A substantial levelling agent isn't just another bucket of goop you trowel across the floor. It's the layer that quietly carries the weight of every step, every chair scrape, and every dropped tool for years after the finish goes down. Underfoot, it corrects dips, ridges, and gentle waves that would otherwise telegraph straight through vinyl, laminate, or tile, creating hollow spots or cracked grout lines. If you skip it or go too thin, those subfloor imperfections don't disappear; they just wait until the new flooring has settled in and then start showing up as squeaks, soft spots, or edge lifting. Choosing the right material matters as much as the pour itself. You'll run into cement-based compounds for deeper fills, gypsum-based options for interior wood subfloors, and high-flow polymers for thin coats. Mixing ratios aren't a suggestion: too much water leaves you with a weak, chalky surface, while too little kills flow and leaves trowel marks that the next layer won't forgive.
Before any mixing bucket appears, the subfloor needs real preparation, not just a quick sweep. Vacuum every crack, seal porous surfaces, and prime so the leveller bonds instead of peeling away. Once you pour, technique separates a floor that feels flat from one that merely looks flat. Work in sections, use a gauge rake to spread, and run a spiker roller through the wet material to release trapped air. Many mistakes take months to surface: overwatering the mix, pouring over dust, ignoring expansion joints, or rushing the cure before installing flooring. The result can be crumbling edges, hollow sounds, or tiles that crack along a hidden ridge. Taking time with these steps means your next flooring project doesn't fight the subfloor from day one, and that's exactly why a substantial levelling agent earns its place in the budget.
Contact Us
Contact Person: Sam Lee
Email: [email protected]
Tel/WhatsApp: 86-311-6617 8338
Website: https://www.horizonadmixtures.com/